Skip to content
AbyssalEscape
Menu

Advertisement

Arena Reference

MapsOf The Round

Two arenas, two different chases. Layout notes, sightlines, and the corners where a comfortable route quietly turns into a trap.

Abyssal Escape currently rotates two arenas, and they punish different mistakes. The notes below cover sightlines, the corners that turn into dead ends under pressure, and where each exit window actually opens.

Arena list

2 arenas shown

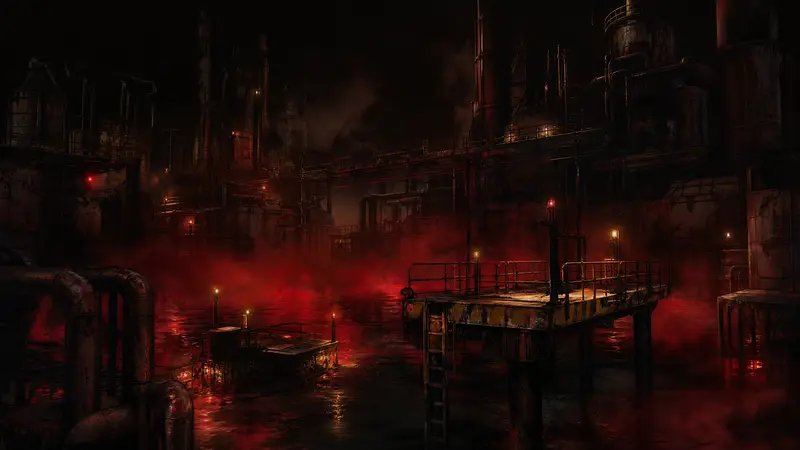
Don't Drown map with raised walkways above flooded ground

Don't Drown

Vertical Flooded low deck Narrow corners

Most of the playable space sits above water, so routes split between the raised walkways and the lower deck that floods when the round pressures build. Verticality defines the map: climbs break a chase line, but each one commits you to a fixed path for a moment. The corners behind the pump structures are the dangerous ones, with a single way in and out. The open centre is watched from the upper platform, so treat it as a crossing, not a waiting room.

Exit / objectiveWhereNote
Main gateFar edge of the arenaUnlocks only after every objective station is signed off.
Backup routeLow deck near the waterlineReachable early but exposed to anyone watching the centre.
Objective clusterUpper platform, inner sideTask stations bunch together, so a killer can camp several at once.
Chokepoint: the single stair down from the upper platform. Once a killer holds it, survivors above have to drop into the flood or loop the long way around.
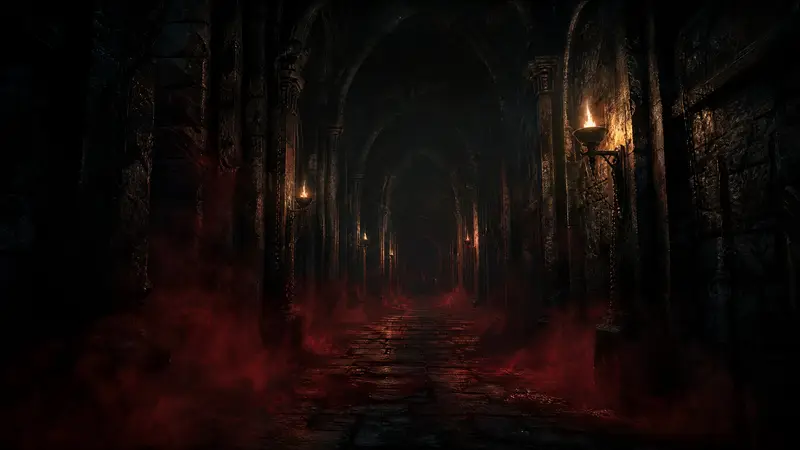
Dots map showing a flat open floor broken up by scattered cover

Dots

Open floor Scattered cover Long sprints

Dots spreads the arena across a flat floor broken up by scattered cover, which changes the rhythm of a chase from corners to staged breaks between objects. Nothing blocks a pursuit for long, so distance and line-of-sight cuts are the real resources here. The cover clusters farthest from the centre are where survivors get pinned, offering three sides of obstruction and one lane straight into a patrol. Move between clusters deliberately and never camp on the outer ring.

Exit / objectiveWhereNote
Main gateOne end of the floorThe approach runs across open ground with little cover to cut a chase.
Objective stationsSpread toward the centreGood for splitting the killer's attention, bad for regrouping afterwards.
Outer ring lanePerimeter of the arenaA fast way around the map until something blocks the lane.
Chokepoint: the perimeter lane narrows where the cover clusters meet the edge. Two exits and one pursuer means the lane becomes a dead end the moment it is watched.

Maps set the routes; survivors and abilities decide which ones you can actually use.